メッセージキルトの縫い方
縫う場合に参考にして下さい。
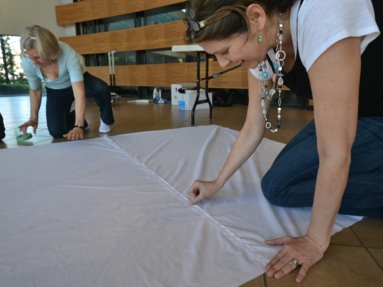
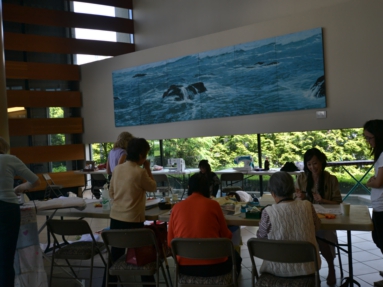
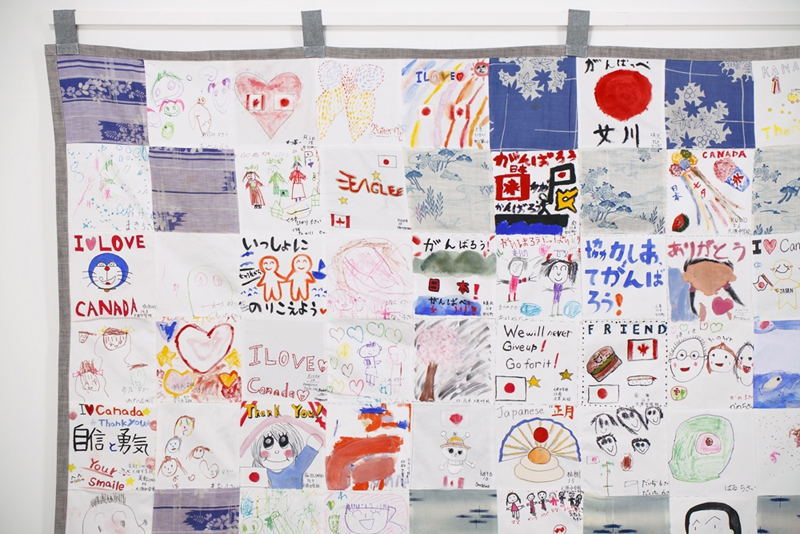
INSTRUCTIONS 1
ミシンでOK
手縫いでもミシンでもいいですがミシンの方が効率的です。
You can sew by machine OR hand.
Although, it is probably faster and easier by machine.
INSTRUCTIONS 2
縫い方

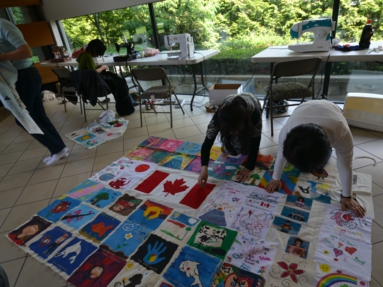
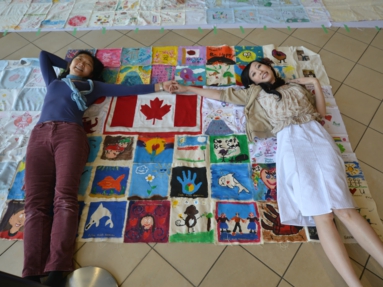
まず布を縫い合わせていきます。
縦は布7枚、その縦を横に縫い合わせていきます。横は15-18列です。
もし、7枚(縦)×15-18枚(横)よりも少なければ、それを尾道へお送り下さい。
他の街の布と一緒に縫い上げ、展示会へ加わります。
You simply sew squares together....7 squares LONG in each row,
then sew the rows together up to about 15-18 rows ACROSS.
IF your cloth letters do not fill completely 7 square length x15-18 rows across,
then send the smaller piece to Onomichi and your section will join with another city's section and join the tour.
INSTRUCTIONS 3
裏生地をつけます
裏に生地をつけます。その布が表の四隅の端にでるようにします。
INSTRUCTIONS 4
吊り下げ用わっか(ループ)をつける
ループは裏生地と同じ素材の布で作って下さい。
幅は6−7cm.
メッセージキルト3枚ごとに縫い付けます。
The loops are made of cloth, same material that people choose for their border.
Each loop is about 6-7 cm wide.
The loops are spaced at every 3 cloth squares.